
Managing finances can often feel like navigating a maze without a map. With bills to pay, savings goals to meet, and expenses to track, staying on top of your financial game can be a daunting task. However, one effective tool that can help you gain clarity and control over your finances is a personalized financial wall planner.
In this guide, we’ll explore the steps to creating your own financial wall planner tailored to your needs, helping you visualize your financial goals and stay organized throughout the year.
Step 1: Set Clear Financial Goals
Before diving into the nitty-gritty of creating your financial wall planner, take some time to define your financial goals. Whether you’re aiming to build an emergency fund, pay off debt, save for a vacation, or invest in your future, having clear objectives will guide your planning process.
Break down your goals into smaller, actionable steps with specific timelines to make them more achievable.
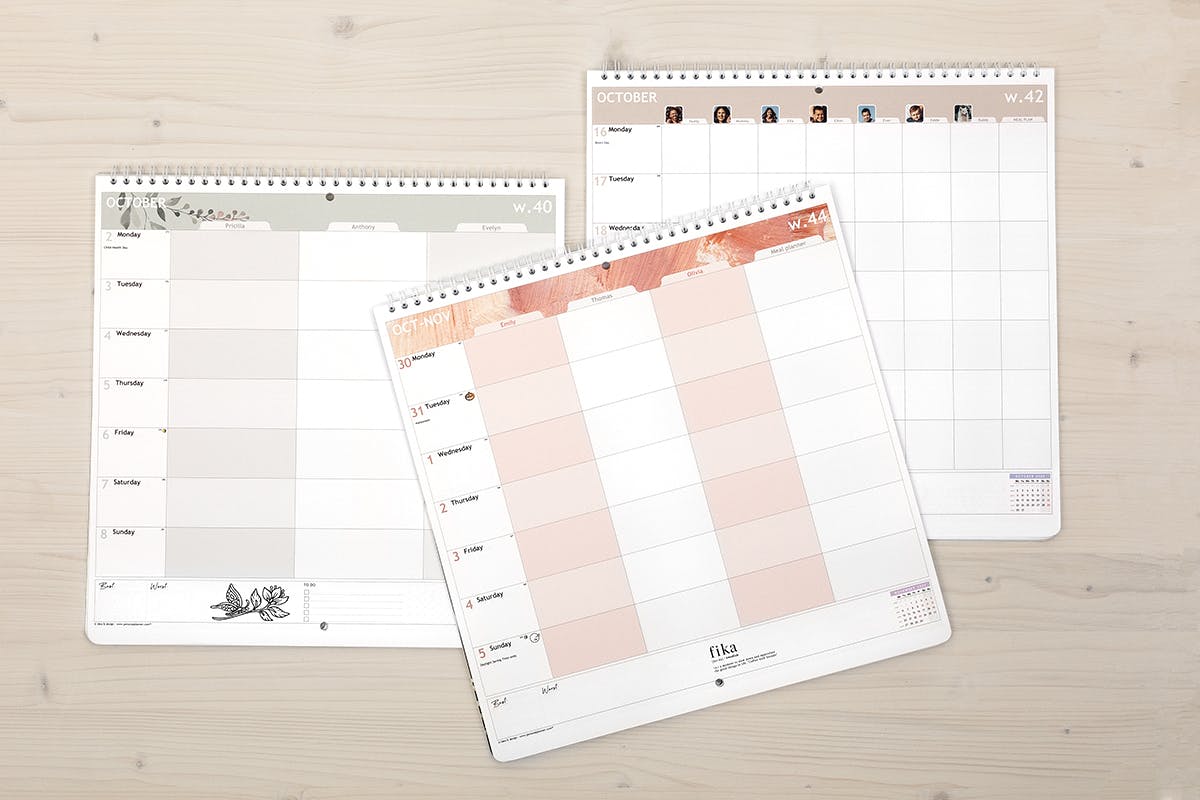
Step 2: Gather Your Materials
To create your personalized financial wall planner, you’ll need a few essential materials:
- Large poster board or corkboard: Choose a size that suits your space and allows ample room for organizing your financial information.
- Markers, pens, and highlighters: Opt for vibrant colors to make your planner visually appealing and easy to read.
- Sticky notes or index cards: These will be used for jotting down financial tasks, deadlines, and reminders.
- Calendar or monthly planner: Use a calendar to mark important dates such as bill due dates, paydays, and financial milestones.
- Optional: Stickers, stickers, or decorative elements: Add flair to your planner with stickers or decorative elements that reflect your personality and style.
Step 3: Design Your Planner Layout
Begin by sketching out the layout of your financial wall planner on the poster board or corkboard. Divide the space into sections that align with your financial goals and priorities. Common sections may include:
- Monthly budget: Allocate space for tracking income, expenses, and savings goals for each month.
- Debt tracker: Create a section for monitoring outstanding debts, including balances, interest rates, and payment schedules.
- Savings goals: Dedicate space to visualize progress towards your savings goals, whether it’s for emergencies, vacations, or major purchases.
- Bill payment schedule: Use a calendar format to note down due dates for bills, subscriptions, and other recurring expenses.
- Financial milestones: Highlight key milestones such as debt payoff dates, savings targets reached, or investment milestones.
- Notes and reminders: Reserve space for jotting down financial tips, motivational quotes, or reminders to stay focused on your goals.
Step 4: Customize Your Planner
Personalize your financial wall planner to make it uniquely yours. Add decorative elements, inspirational quotes, or photos that inspire you to stay motivated on your financial journey.
Tailor the layout to suit your preferences and lifestyle, whether you prefer a minimalist design or a more colorful and creative approach. The goal is to create a planner that reflects your personality and makes you excited to engage with your finances.
Step 5: Populate Your Planner
Once you’ve designed your planner layout, it’s time to populate it with your financial information. Start by filling in the monthly budget section with your anticipated income and expenses for each month.
Be sure to include categories such as rent or mortgage, utilities, groceries, transportation, entertainment, savings, and debt payments. Track your actual spending throughout the month and adjust your budget as needed to stay on track.
Next, update your debt tracker with current balances, interest rates, and payment schedules for any outstanding debts. Use visual cues such as color-coding or progress bars to track your progress towards debt payoff goals.
Similarly, update your savings goals section with your current savings balances and progress towards reaching your goals. Break down larger goals into smaller milestones to celebrate your achievements along the way.
Finally, populate your bill payment schedule with due dates for bills, subscriptions, and other recurring expenses. Use sticky notes or index cards to jot down reminders for upcoming deadlines or financial tasks.
Step 6: Review and Update Regularly
Make it a habit to review and update your financial wall planner regularly to ensure it remains accurate and relevant to your financial situation. Set aside time each month to reconcile your budget, track your spending, and update your planner with any changes or adjustments.
Use this time to reflect on your progress towards your financial goals and identify areas for improvement.
Conclusion
Creating a personalized financial wall planner is a powerful tool for gaining control over your finances and achieving your financial goals. By setting clear objectives, designing a customized layout, and populating your planner with your financial information, you can visualize your progress and stay organized throughout the year.
With regular updates and reviews, your financial wall planner will serve as a valuable resource for managing your finances and making informed decisions about your money. Start today and take control of your financial future!