
Who doesn’t desire to showcase themselves and flaunt their personality? It’s easier than ever to do when you can easily beautify your closet with thrilling badges that show off your style to take your clothing to the next level.
If you have a badge you’re searching to apply to a jacket to get it to the next level, whether to make something distinctive, craft a uniform, or flaunt an accomplishment; sewing is an excellent way to attach your badge so it’ll grip on for the long drag.
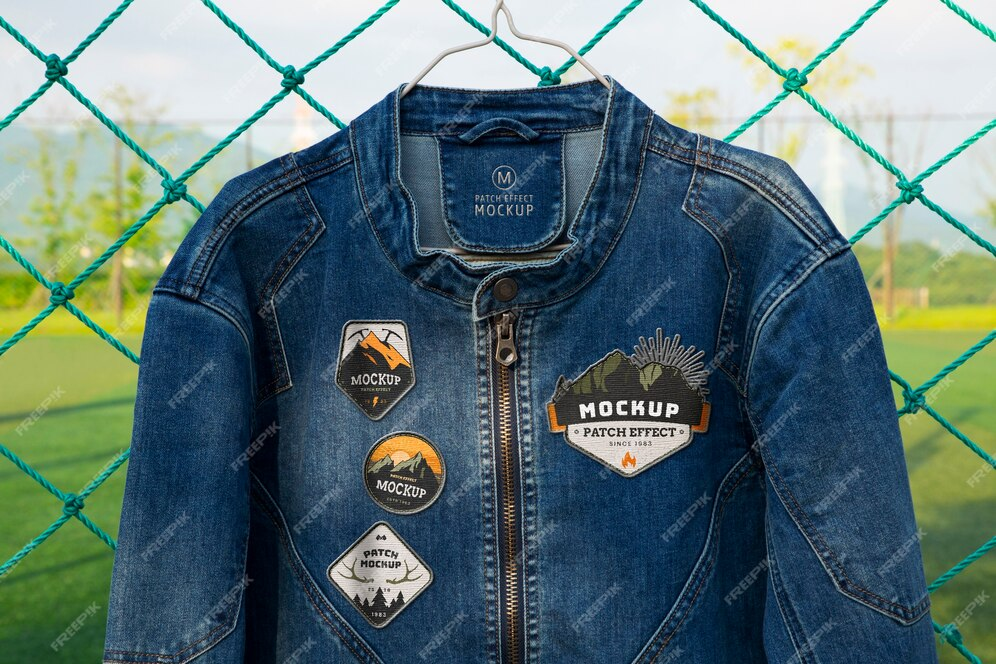
Denim jackets are great attire for decorating with patches. The hard cotton resists the hot iron crucial for ironing on badges while remaining simple to sew by hand. You can attach patches on other jackets as well and the procedure is the same. The steps for how to attach patches on a jacket might incorporate both sewing and ironing. Although you don’t have to attach your iron-on badges, stitching them on ensures long-term fitting. For non-cohesive patches, you can exclude the ironing steps.
Below, we’ll learn everything you need to know to sew a personalized badge onto a jacket by hand.
How Do You Stitch A Patch On A Jacket By Hand?
While there are multiple ways you could pick to attach a patch, hand sewing is almost an easy method that gets the job done perfectly. You don’t need to find out that your badge drops off soon after one cycle through the wash, right?
While hand sewing your customized patches might consume a bit more time, we find the results beneficial to the effort.
Let’s begin with it.
Step 1: Assemble the necessary materials and tools
Begin by assembling the materials. You’ll require a thread and sewing needle that matches your badge as closely as possible except if you desire to create a statement with a few intentionally distinct threads, pins, scissors, and an iron in case you have an iron-on badge.
Step 2: Decide on your patch’s position
Investigate your jacket to decide precisely where you desire your patch to go. Sometimes, you might utilize the badge to cover a tear. If so, ensure your patch is big enough to cover it completely – and ensure to clean the torn area by cutting any fluff or threads.
Step 3: Iron down or pin your patch
Analyze the wrong side of your badge. If it has a narrow paper covering or it’s glossy, then great news – you have an iron-on patch. The iron-on trait is fruitful to keep things in place while you sew.
Step 4: Drift your needle
Grasp your thread and then thread it through the needle, double it up, and bind a knot. Let’s get stitching!
Step 5: Backstitch around the badge
You’ll have to begin the backstitching procedure from the wrong side of your fabric. Thrust the needle through to the right side and fetch it through. Your tie must now be on the wrong side of the fabric.
Now, take your needle at the backtrack into your fabric and badge about an inch to the right from where your needle came up before. Grab it all the way through and get back up again – another inch along on the badge.
Next, fetch your needle at the backdown, but this time, bring it down to the end of your last stitch to make a continuous line. Keep going with the procedure of backstitching until you’ve created your way around the whole outline of the badge, and it’s strongly secured.
Once you are done with all the way around, tie your thread firmly on the wrong side of the fabric. You can duplicate this several times for added security. If the badge still doesn’t feel firm enough, you can duplicate the backstitch if you’d like.
Step 6: Gash the threads
Now, when your knot is completely tied, you can gash the threads and enjoy your new, voguish jacket.
How To Attach Patches Without Sewing?
Woven patches and embroidery patches can be affixed to the cloth without the need for a thread and needle.
Most of the techniques that let this calm and restful method of affixing your badges incorporate not many types of special backing such as self-adhesive, heat-seal, or Loop and Hook.
If your patch has a simple and plain back, the only other method of affixing it to your garment without stitching is by utilizing glue.
Frequently Asked Questions
- Is it recommended to stitch or iron on a badge?
Iron-on patches are also simpler to implement, but they’re not as long-lasting as sew-on badges. Sew-on patches are more long-lasting as compared to iron-on patches. They can be sewn onto several kinds of garments, but separating them can be a bit difficult because once it is attached it stays.
- Do iron-on patches last long?
In general, iron-on badges last between three and four years with great care. An iron-on sticky-backed badge lasts for a short time of intervals like for six to twelve months, taking more of a tear-and-wear punch. Depending on the item you want to enhance, a sew-on patch may be the best option.
- How do you make iron-on badges everlasting?
Using a medium hot iron, and wrapping the badge with a slim handkerchief or any other thin fabric while pressing it onto the garment. Push down hard for some seconds, then keep the iron moving to stop thrusting, keep this up for 3–4 minutes.
Final Thoughts
As you can observe, it’s quite simple to hand-stitch a badge onto your jacket. So next time you’re thinking of covering up a sprint or giving a new life to old clothes, you have got our back.
If you desire to make a unique fashion statement, why not accelerate your wardrobe with personalized patches? They’re easy to put on jackets and other garments and accessories, letting you showcase yourself and take your clothing to the next level.
Whether you’re using badges to recognize yourself as part of a team or to showcase your uniqueness, there are plenty of options to assist you design exactly what you want and bring it to life.