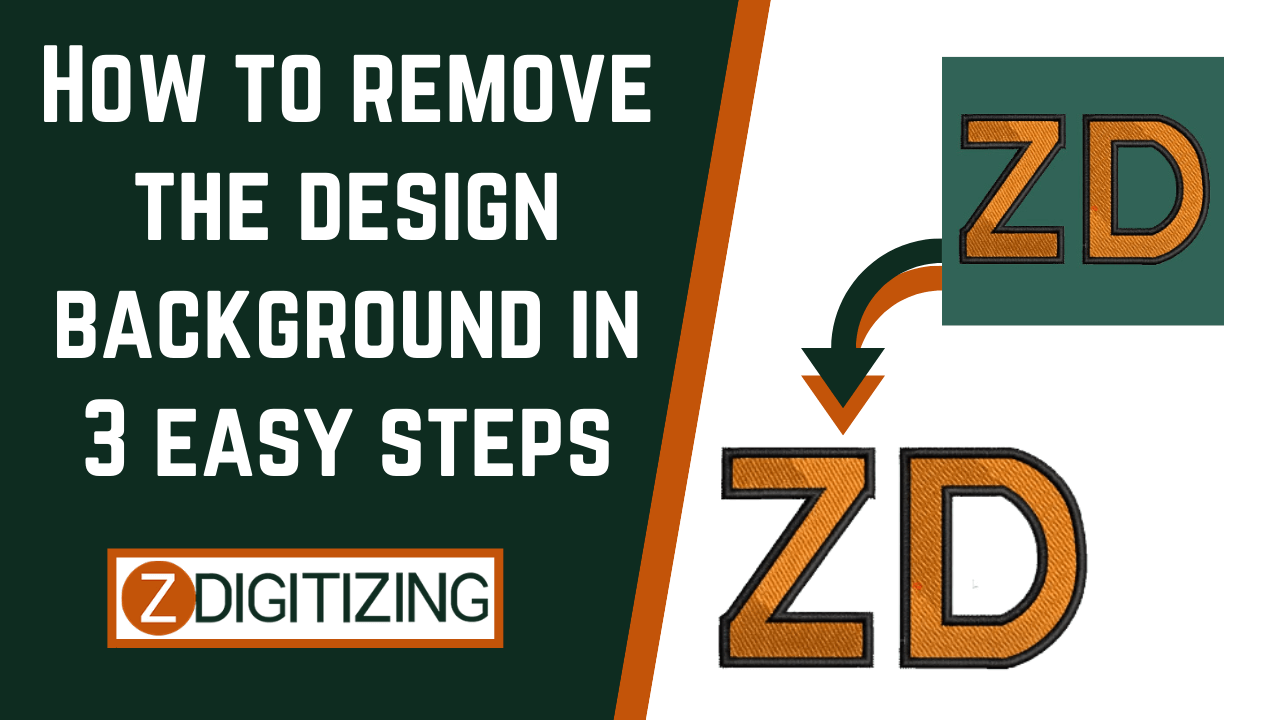
Are you ready to take your embroidery designs to the next level? Learn how to remove design backgrounds in Wilcom Embroidery Studio with just three simple steps! Whether you’re a beginner or an experienced embroiderer, mastering this technique will allow you to create cleaner, more professional-looking designs. Let’s explore how you can remove design backgrounds effortlessly and elevate your embroidery projects.
Understanding Design Background Removal in Wilcom Embroidery Studio:
Before we dive into the steps, let’s understand why removing the background from embroidery designs is important. Design backgrounds can sometimes clutter your design or interfere with the overall aesthetic. By removing the background, you can achieve a cleaner and more polished look, allowing your embroidered designs to stand out.
Step 1: Import Your Design into Wilcom Embroidery Studio:
The first step in removing the background from your design is to import it into wilcom embroidery studio. Whether you’re working with a pre-existing design or creating one from scratch, Wilcom Embroidery Studio makes it easy to import and edit your designs. Simply open the software and import your design file to get started.
Step 2: Use the Magic Wand Tool to Select the Background:
Once your design is imported into Wilcom Embroidery Studio, it’s time to select the background that you want to remove. Wilcom Embroidery Studio offers a variety of selection tools, but the Magic Wand Tool is particularly useful for this purpose. Use the Magic Wand Tool to click on the background area of your design, and it will automatically select all areas with similar colors.
Step 3: Delete or Hide the Selected Background:
With the background selected, the final step is to delete or hide it from your design. Depending on your preferences and the complexity of your design, you have a few options for removing the background. You can simply delete the selected background area, leaving only the foreground elements of your design. Alternatively, you can choose to hide the background, effectively making it transparent.
Best Embroidery Softwrae
When it comes to digitizing embroidery designs, finding the best embroidery digitizing software is crucial for achieving professional results. There are several top-notch options available in the market, each offering unique features and capabilities to meet the diverse needs of embroiderers.
FAQs (Frequently Asked Questions) About Removing Design Backgrounds in Wilcom Embroidery Studio:
Q1: Can I undo the background removal if I make a mistake? A1: Yes, Wilcom Embroidery Studio allows you to undo changes if you make a mistake while removing the background. Simply use the Undo command or keyboard shortcut to revert to the previous state of your design.
Q2: Will removing the background affect the quality of my design? A2: Removing the background should not affect the quality of your design, as long as it’s done carefully and with attention to detail. However, it’s always a good idea to save a backup of your original design file before making any changes.
Q3: Are there any limitations to the types of designs I can remove the background from? A3: Wilcom Embroidery Studio allows you to remove the background from a wide range of designs, including those with intricate details and complex shapes. However, extremely detailed or multi-layered designs may require more advanced editing techniques.
Q4: Can I remove the background from designs with multiple colors? A4: Yes, Wilcom Embroidery Studio allows you to remove the background from designs with multiple colors. Simply use the Magic Wand Tool to select each background color individually, and then delete or hide the selected areas as needed.
Q5: Are there any resources available to help me learn more about removing design backgrounds in Wilcom Embroidery Studio? A5: Yes, there are numerous online tutorials, forums, and instructional materials available to help users master the art of removing design backgrounds in Wilcom Embroidery Studio. Explore these resources to expand your knowledge and skills in embroidery digitizing.

